Easy Grilled Chicken Fajitas: Skewer Up Flavor for Your Next Meal!
There’s something undeniably irresistible about fajitas. The aroma of sizzling meat and vegetables, the vibrant colors, and the promise of building your perfect bite with warm tortillas and fresh toppings – it’s a culinary experience that excites the senses. But let's be honest, while the sizzling platter is iconic in restaurants, it's not always the most practical (or safest!) choice for a lively family dinner at home. Enter a brilliant solution:
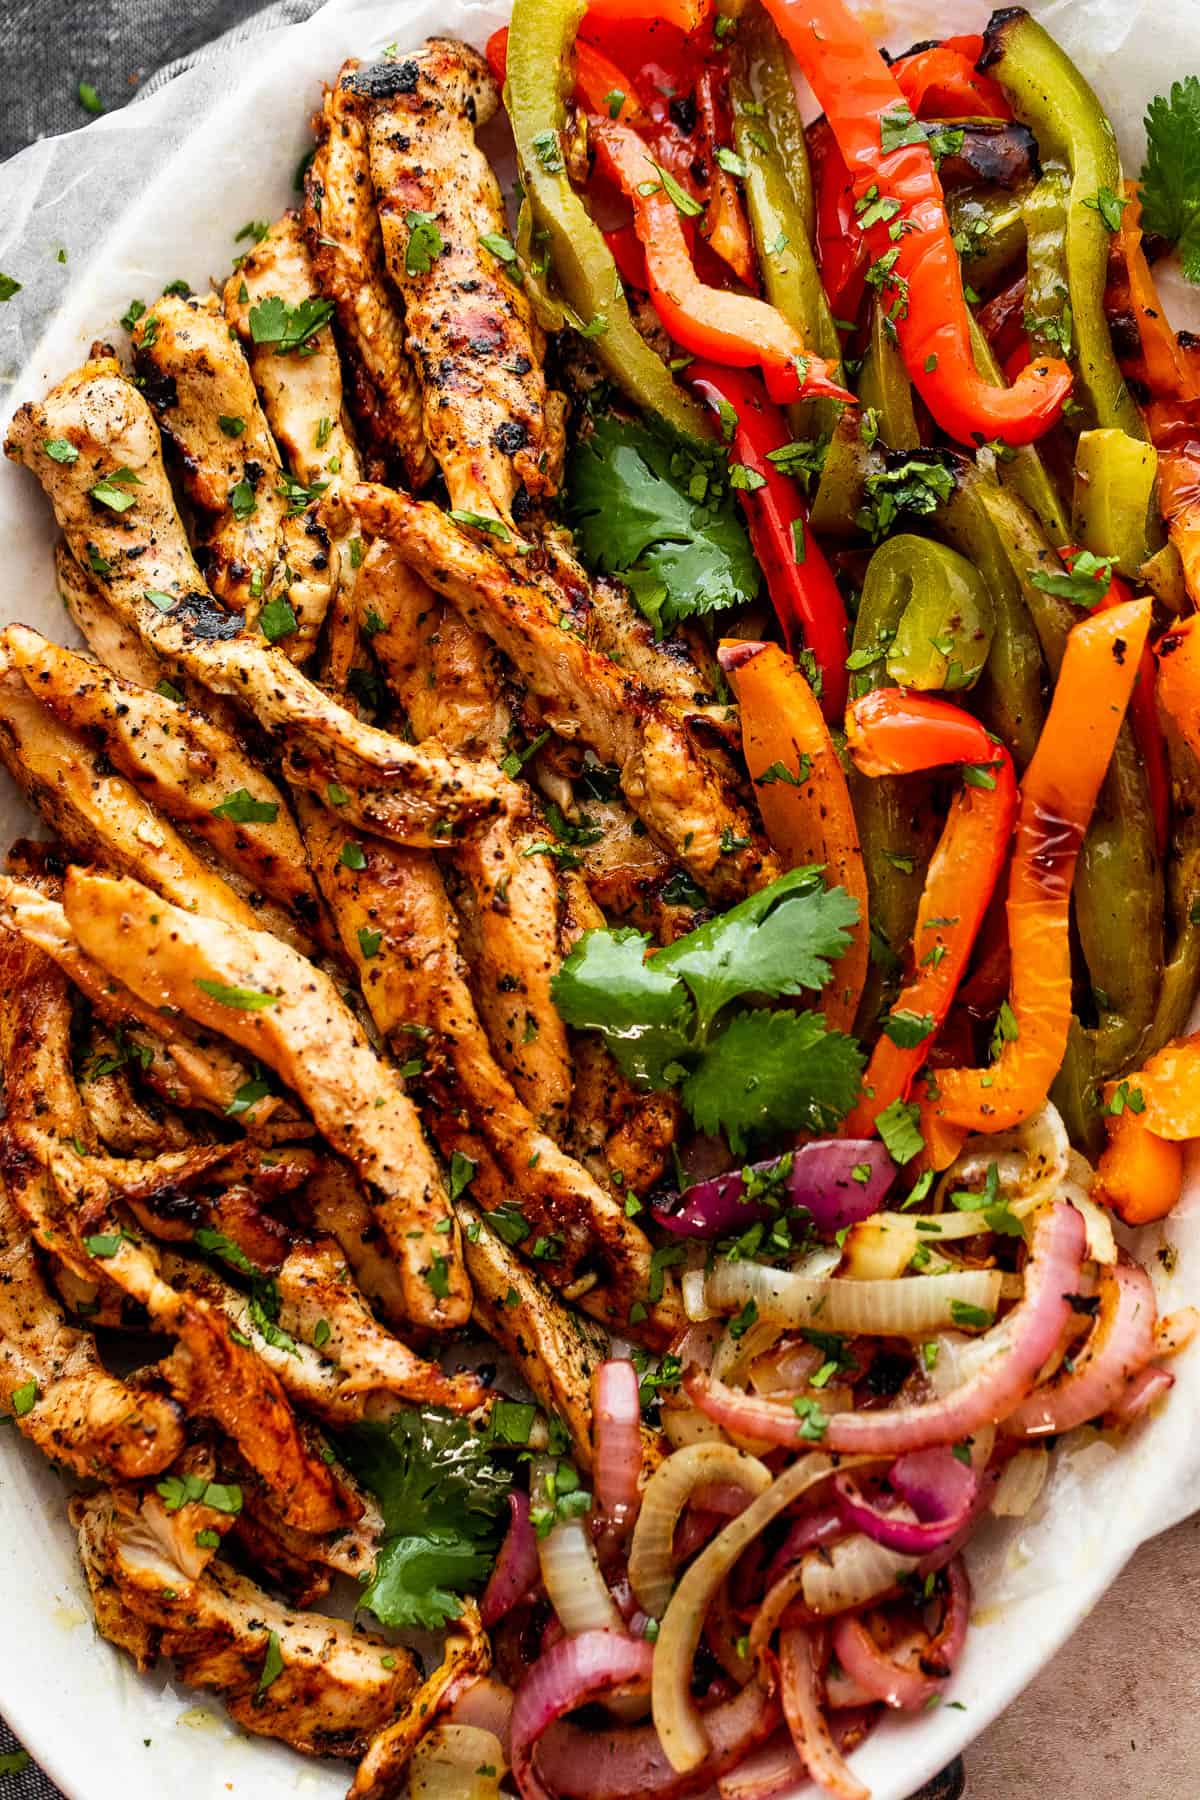
grilled chicken fajitas on a stick! This innovative approach brings all the smoky, zesty flavor of traditional grilled fajitas straight to your backyard grill, offering a convenient, kid-friendly, and mess-free way to enjoy this beloved dish.
Imagine succulent pieces of chicken and crisp-tender bell peppers, marinated in a vibrant blend of spices and lime, then skewered and grilled to perfection. No more worrying about small pieces falling through the grates or navigating a scorching hot platter. These fajita skewers are an absolute game-changer, making them an ideal choice for your next BBQ, weeknight dinner, or even a camping trip (though for campfire cooking, you might also love the convenience of
Campfire Grilled Chicken Fajitas: Easy Foil Packet Meal Idea). Get ready to unlock a world of flavor with this easy and delicious grilled chicken fajitas recipe, complete with pro tips to ensure your skewers are a smash hit!
The Ultimate Marinade for Flavorful Grilled Chicken Fajitas
The secret to truly sensational fajitas lies in the marinade. It’s what infuses your chicken and vegetables with that unmistakable Tex-Mex zing and tenderness. Our tried-and-true blend is a symphony of flavors designed to awaken the palate.
To create this zesty marinade, you'll need:
- Olive Oil: The base that helps distribute flavors and keeps the chicken moist.
- Lime Juice: Essential for that bright, tangy fajita flavor, and acts as a natural tenderizer for the chicken.
- A Touch of Sugar: This might surprise you, but a small amount of sugar helps with caramelization on the grill, creating those desirable charred edges and balancing the acidity of the lime.
- Salt and Pepper: Fundamental seasonings to enhance all other flavors.
- Cumin: A cornerstone of Mexican and Tex-Mex cuisine, providing earthy warmth.
- Garlic: Pungent and aromatic, garlic is non-negotiable for depth of flavor.
- Smoked Paprika: Adds a beautiful smoky note that complements grilling perfectly and a hint of vibrant color.
- Onion Powder: For a concentrated onion flavor without the raw crunch.
- Chili Powder: A blend of various chili peppers and spices, offering a mild to medium heat and robust flavor.
- Cilantro: Freshly chopped cilantro brings a burst of herbaceous freshness to the marinade.
- Water: Helps thin the marinade slightly for even distribution.
Simply whisk all these ingredients together in a bowl until well combined. The magic happens when your chicken breasts and choice of vegetables (red onion and bell peppers are classic!) are submerged in this flavorful bath. We recommend marinating for at least one hour, or even better, up to four hours in the refrigerator. This allows ample time for the flavors to meld and penetrate the ingredients, ensuring every bite is bursting with that authentic fajita taste. While tempting to marinate longer, especially with lime juice, extended periods (over 4-6 hours) can sometimes break down the chicken's texture too much, so find your sweet spot! For more details on perfecting your marinade, check out our guide on
Perfect Grilled Chicken Fajitas: Zesty Marinade & Grilling Guide.
Crafting Your Easy Grilled Chicken Fajitas on a Stick: A Step-by-Step Guide
Transforming classic grilled fajitas into convenient skewers is simpler than you might think. This method not only makes serving a breeze but also ensures even cooking and a beautiful presentation.
Preparation for Skewers:
First, gather your main ingredients: boneless, skinless chicken breasts, red onion, and bell peppers of various colors (orange, yellow, and red bell peppers tend to be sweeter than green, but use what you love!).
- Cut the Chicken: Instead of leaving the chicken breasts whole, cut them into approximately 1-inch to 1.5-inch cubes or thick strips. Uniformity in size is key for even cooking on the skewers.
- Prepare the Vegetables: Cut your red onion into roughly 1-inch pieces. For the bell peppers, cut them into similar 1-inch squares or chunky strips. This ensures they don't overcook or fall apart on the grill while the chicken cooks through.
- Marinate: Combine the cubed chicken and cut vegetables in your zesty marinade. Toss well to ensure everything is coated, then refrigerate for a minimum of one hour.
- Prepare Your Skewers: If using wooden skewers, soak them in water for at least 30 minutes prior to grilling. This prevents them from burning on the grill. Metal skewers are also an excellent, reusable option.
Assembling and Grilling Your Fajita Sticks:
Once your ingredients are marinated and your skewers are ready, it’s time for assembly and grilling!
- Thread the Skewers: Alternate pieces of chicken, bell pepper, and red onion onto your skewers. Try to pack them gently but not too tightly, allowing heat to circulate around each piece. A good rhythm might be: chicken, bell pepper, onion, chicken, bell pepper, onion, and so on.
- Preheat Your Grill: Whether you're using an outdoor charcoal grill, a gas grill, or even an indoor grill pan, preheat it to medium-high heat. You want a good, consistent heat to get a nice char without burning.
- Grill to Perfection: Place the skewers on the hot grill. Cook for about 3-5 minutes per side, rotating occasionally, until the chicken is cooked through and the vegetables are tender-crisp with some appealing char marks. The total cooking time will vary based on your grill's heat and the size of your chicken pieces, but typically ranges from 12-18 minutes.
- Check for Doneness: The most crucial step for safe and delicious chicken! Use a probe thermometer to check the internal temperature of the thickest part of the chicken. It should read at least 165°F (74°C).
- Rest and Serve: Once cooked, remove the skewers from the grill and let them rest for a few minutes. This allows the juices in the chicken to redistribute, resulting in a more tender and flavorful bite.
Pro Tips for Perfectly Cooked & Served Fajitas
Making truly memorable
grilled chicken fajitas on a stick goes beyond just following the recipe. Here are some extra insights and serving suggestions to elevate your meal:
- Don’t Overcrowd the Grill: Give your skewers space! Grilling in batches if necessary ensures consistent heat and better charring. Overcrowding can lower the grill temperature and lead to steaming rather than grilling.
- Veggie Variety is the Spice of Life: While bell peppers and onions are classic, don't be afraid to experiment! Slices of zucchini, cherry tomatoes (if they're firm enough), or even pineapple chunks can add exciting new flavors and textures to your skewers.
- The Perfect Sides: Fajitas are all about the experience! Serve your grilled chicken fajita sticks with warm flour or corn tortillas (you can even warm these on the grill for a minute or two!), and a spread of fantastic toppings. Think:
- Freshly grated cheese (Monterey Jack, cheddar, or a blend)
- Cool sour cream or a tangy Greek yogurt crema
- Homemade salsa fresca or salsa verde
- Creamy chipotle guacamole or sliced avocado
- Pinto beans, black beans, or cilantro-lime rice
- Pickled red onions for a zesty crunch
- Fresh cilantro and lime wedges
- Kid-Friendly Fun: The "on a stick" format is a massive hit with kids! It's easy for little hands to manage, reduces mess, and makes eating vegetables more appealing. Plus, they can enjoy building their own mini-fajita with the grilled ingredients. This solves the "sizzling platter hazard" concern beautifully.
- Leftover Love: If you happen to have any leftover fajita skewers, simply remove the meat and veggies from the sticks and store them in an airtight container in the refrigerator for up to 3 days. They’re fantastic reheated in a pan or microwave, or repurposed into fajita salads, quesadillas, or burrito bowls for quick lunches.
Conclusion
Embracing the convenience and fun of
grilled chicken fajitas on a stick revolutionizes the way you enjoy this beloved Tex-Mex classic. With a vibrant, zesty marinade, carefully prepared ingredients, and the smoky char of the grill, you can create a memorable meal that's bursting with flavor. This recipe offers a fantastic solution for hassle-free family dinners, entertaining friends, or simply making your grilling experience more enjoyable. So fire up that grill, thread those skewers, and get ready to savor every delicious bite of these easy and flavorful fajita sticks!